

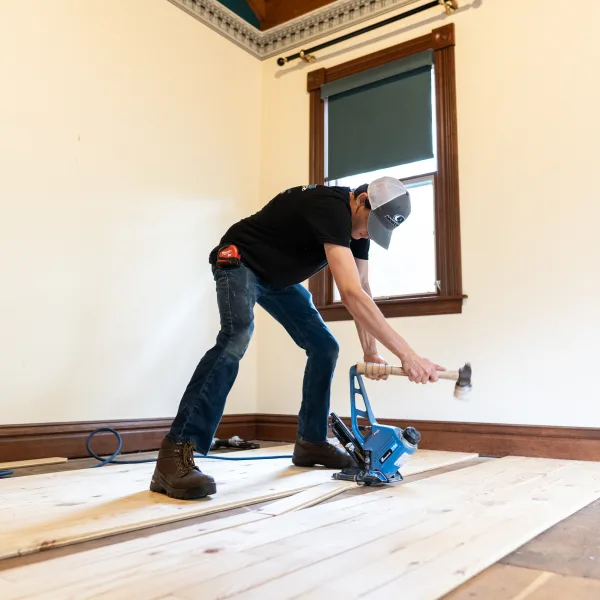
A Sicklerville homeowner may picture hardwood installation as a simple sequence: remove the old flooring, bring in planks, and start nailing. The finished surface is what everyone notices, but the preparation underneath determines how well it looks and performs. Good installation requires careful planning, moisture awareness, precise fitting, and time for the material to adjust.
1. Planning the Right Material
The process begins with a conversation about the room, subfloor, lifestyle, and budget. Solid hardwood offers a traditional structure, while engineered hardwood uses layered construction that may provide added stability during seasonal humidity changes.
Room conditions also influence the species and plank style. Oak remains a practical, adaptable choice because its visible grain and moderate hardness suit many decorating styles. Homeowners who want that familiar look can compare oak hardwood alongside wider planks, smoother finishes, or more textured surfaces.
Your installer should also discuss transitions, trim, furniture handling, and the direction the boards will run. These decisions affect the finished appearance before a single plank reaches the floor.
2. Inspecting and Preparing the Subfloor
Once the material is selected, the crew examines the existing surface. They look for uneven areas, loose sections, moisture concerns, damaged plywood, and conditions that could cause movement beneath the new flooring.
A level, secure subfloor helps prevent squeaks and gaps. Small imperfections may require patching or sanding, while more serious damage might call for repairs before installation continues. The team also checks door clearances and removes baseboards carefully when they need to be reinstalled afterward.
Hardwood must adjust to the home’s interior conditions before installation. This acclimation period allows the boards to respond to temperature and humidity gradually, reducing the risk of excessive expansion or contraction after the project is complete. All Pro Interiors explains related planning considerations in its hardwood flooring information.
3. Installing the Boards with Precision
The installation method depends on the product and the subfloor. Solid planks are commonly nailed or stapled, while some engineered products may be nailed, glued, or installed as a floating floor. The crew establishes a straight reference line first, then works outward while staggering end joints.
Staggering keeps seams from forming predictable lines and gives the floor a more balanced appearance. Installers also leave a controlled perimeter gap near walls. That space allows the boards to expand during humid South Jersey weather without pressing tightly against the structure.
Cuts around door jambs, vents, corners, and irregular walls require patience. Tight-fitting transitions and consistent spacing often separate professional workmanship from a rushed installation. All Pro Interiors provides custom hardwood floor installation for homeowners who want those details handled by an experienced local team.
4. Completing and Caring for the New Floor
After the boards are secured, the crew installs transitions, replaces trim, and checks the surface for movement or visible gaps. Depending on the product, the floor may arrive prefinished or require sanding and finishing after installation. Your installer should explain when furniture can return and how soon rugs are safe to place.
New hardwood also benefits from simple protection. Use felt pads under furniture, sweep grit regularly, and wipe spills promptly. During snowy months, entry mats help limit the salt and moisture that can scratch or dull the finish.
Installation is not the only way to renew a home’s existing wood. If the current boards are structurally sound but scratched or faded, dustless hardwood refinishing may restore their appearance without replacing them.
The team at All Pro Interiors is family-owned and operated, so homeowners receive practical guidance rather than a one-size-fits-all sales pitch. Visit the Sicklerville showroom, or discuss your rooms and flooring goals during an in-home consultation. When you are ready to review materials, timing, and honest pricing, request a free hardwood installation estimate.


